Topic: technical (6 posts) Page 1 of 2

RTP

This is a post about digital file housekeeping, part of a series on how I work.

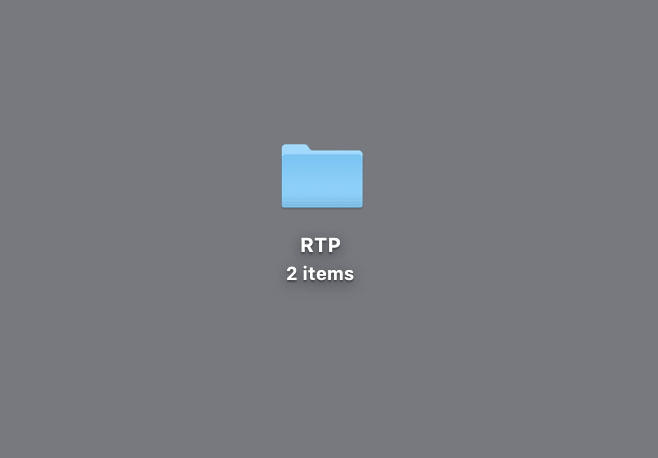
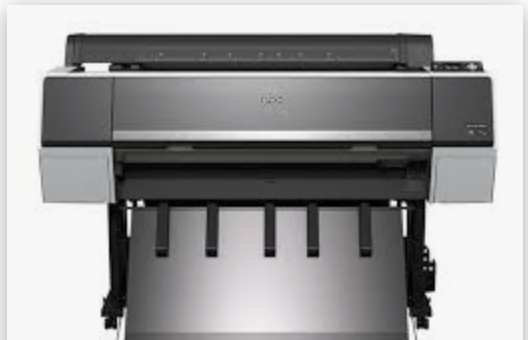
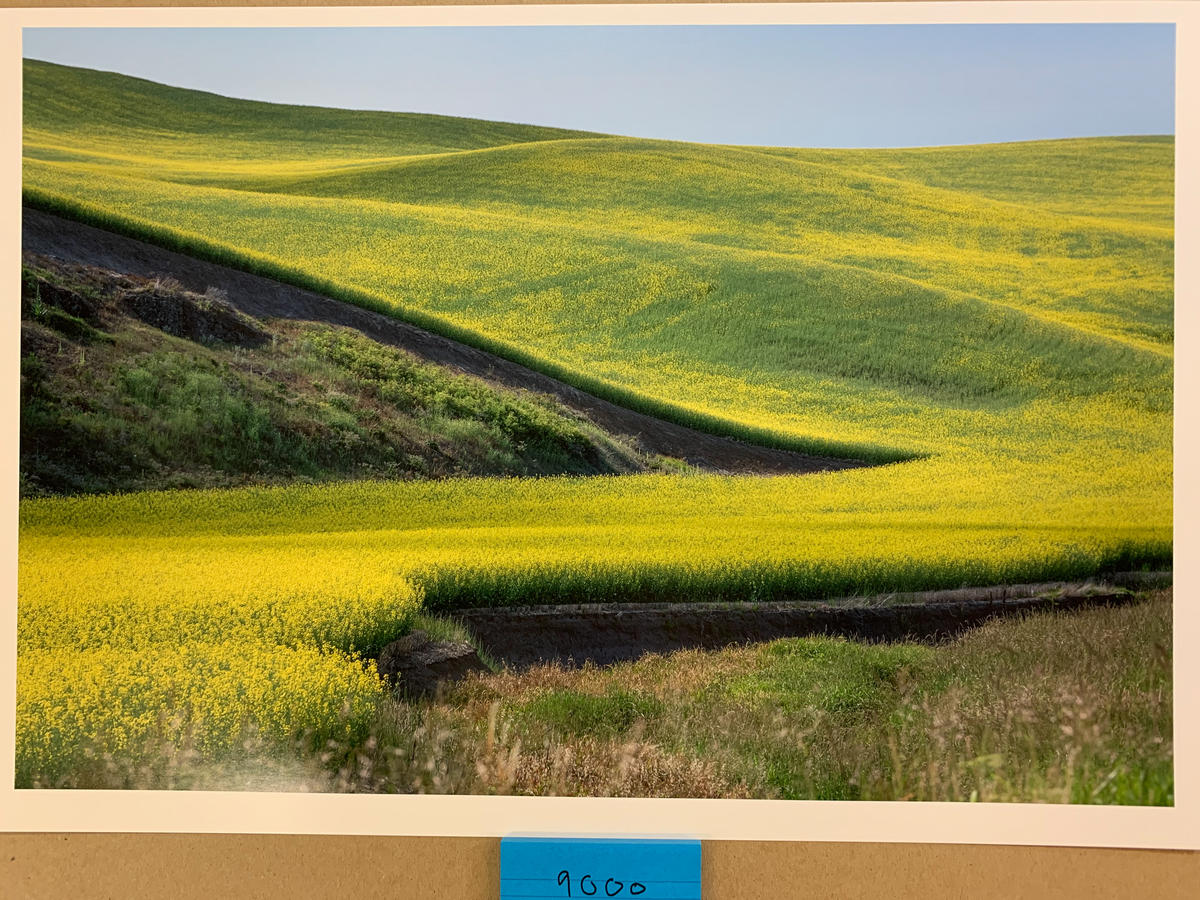
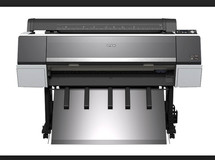
RTP or Ready To Print is a term I use to designate a digital file as final and ready to send to the inkjet printer I use. By this time I have worked on the RAW files in Lightroom and Photoshop (and possibly some plugins as well). Chances are, for the particular series or group of photographs, these finished files sit in a folder marked RTP.

As far as I know, this is my designation or naming convention, although it is seen frequently as I taught this for many years before I retired. 

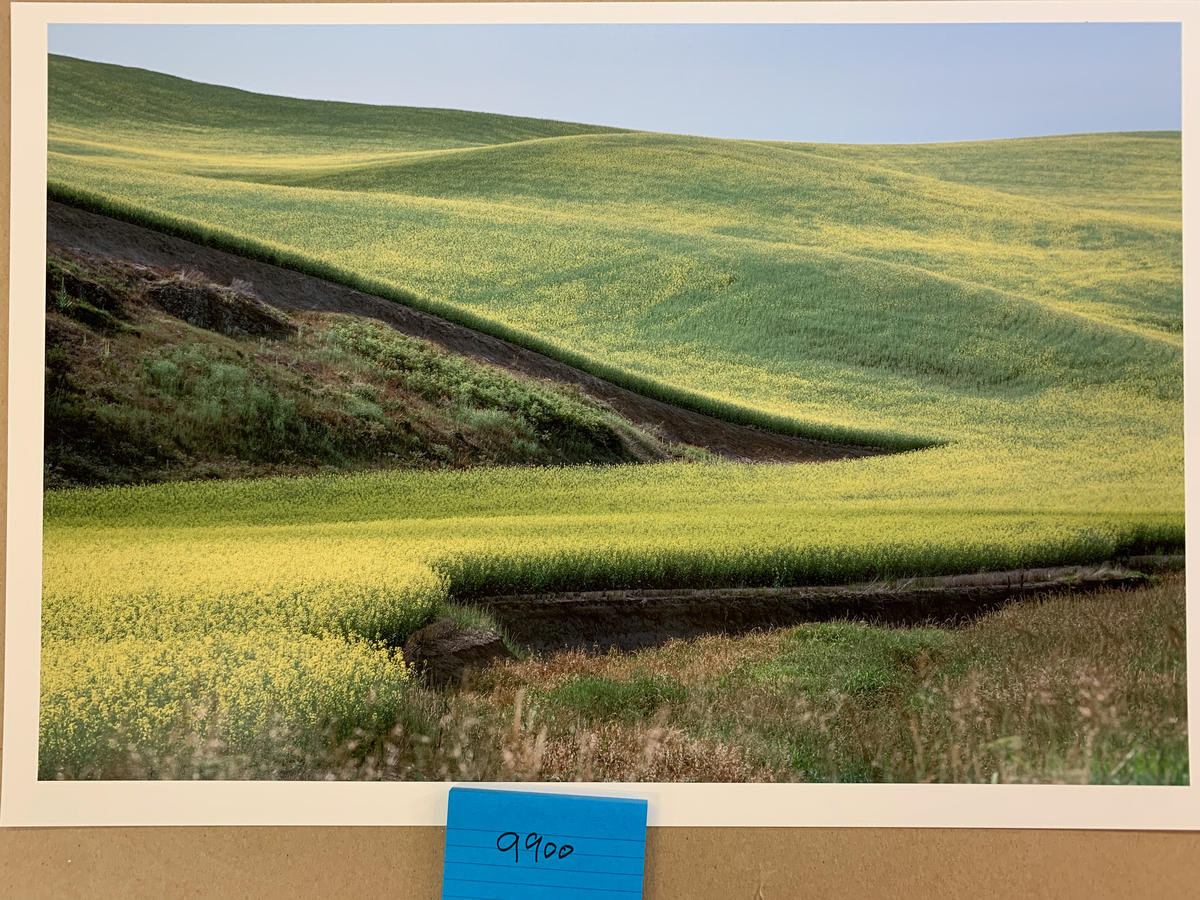
There are a few advantages to working this way. One is, I can return to the RTP file and print it exactly as I did years before. It is set up for the final print size as well, meaning that I can duplicate the print in exactly the same proportions years later. In sizing I never throw away pixels, always keeping the maximum amount of file size. RTPs also show the print in its cropped form, although I seldom crop.

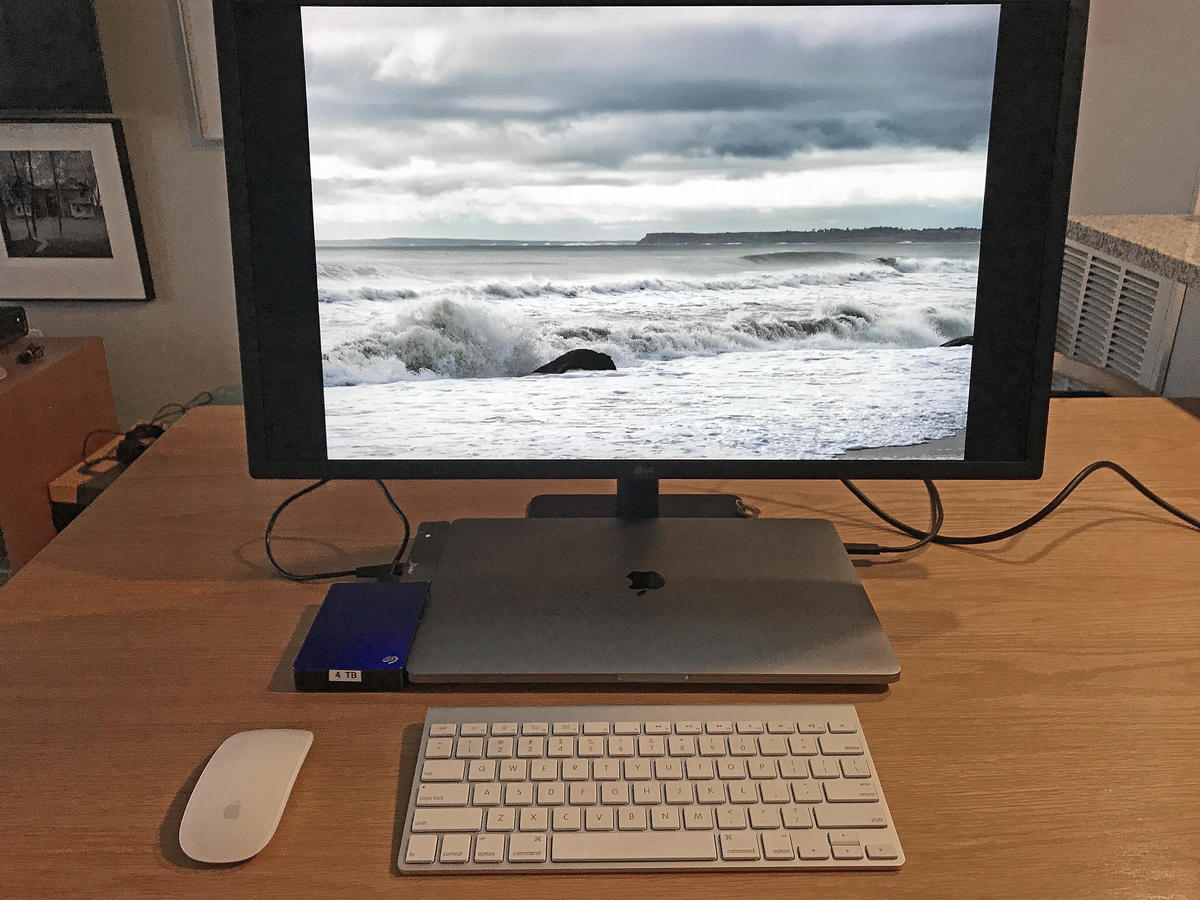
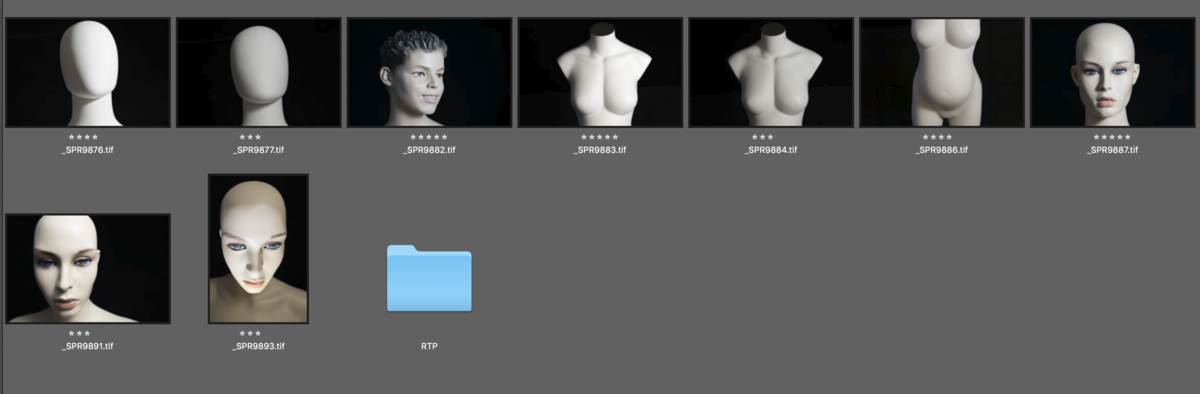
The full folder often shows the series of photographs as I have exported them from Lightroom, ready for the final edit and sizing in Photoshop. Once that is done and I have sharpened them I do a "Save As" in PS into my RTP  folder for that series.

If you are in the business of making photographs and selling your work, you must have a system in place where you can reproduce them.  A common scenario is that an artist sells a photograph but doesn't replace it. They move on or made it years ago. Although reinterpreting earlier work can result in making better prints, the last thing you want is the inability to duplicate the original.

So, the RTP folder lives inside the overall folder for that particular project. Simple enough.

Do this. Think through how you keep your files organized.  Are they filed by date, place, project or keyword? Can you access older files as needed? Have you got a system of naming and filing that allows easy access to your work? Can you reproduce your photographs if needed? 

In my teaching, I would always tell intro photo students that the best time to get their act together is in the early days. If you've only shot a roll or two of film or a couple of hundred digital files, nothing could be easier to set than a naming and filing system. This gets progressively harder the more work you accrue. 

Being a "pro" entails certain responsibilities. RTPs work for me.

Topics: technical

Permalink | Posted October 24, 2021

Printer Saga 2

Apologies for this blog going into some printer tech. Last week I wrote that my 9900 died and the Epson p9000 was on order. 

A few days later it was delivered by truck, slid on its pallette onto the loading dock at my  building, unpacked, assembled and rolled onto the freight elevator and up to my floor, rolled down the hallway into my studio and into its place, exactly where the old one was.


Epson p9000

I plugged it in and hooked it up, turned it on, fed it the startup inks, did a nozzle check and head alignment, updated to the newer Black version of the ColorByte Image print RIP software I use and then went to open it and a prompt came up that I needed the newest OS for my Mac. 

Uh oh.

This is a partial confession and not stated as an excuse but I have been busy with shows and new work. What I had was 2 large libraries still sitting in Apple's now ancient Aperture with 88000 files. Before updating I had to migrate these  to Lightroom or they might be lost, over 4 years of photographic output. 

Apple no longer supports Aperture. I could very easily just loose all those files with the new OS. A brief early morning session with Caleb Cole, my go to for all things Lightroom and I started the transfer. Four days later I had successfully migrated 88000 files to Lightroom.

Once I updated my OS to Mojave, which took a hour or so, I then was able to open Image Print Black. 

Yesterday I made my  first print with the new printer:

Here's a comparison from the six year  old Epson 9900 which was not able to clear its head in the yellow ink range:

to the p9000, the new printer:

where, clearly, it was firing on all cylinders  with yellow ink.

I will now work to reprint and finish printing the new Wheat portfolio, imagery made in June.

Topics: Color,technical

Permalink | Posted August 1, 2019

Legendary

My career and my art have been defined by a few of the lenses I've used to make my photographs over the years. We know that the camera and format play a foundational role but it is the lenses we use that make our pictures look the way they do. 

Early in my career, it was the Carl Zeiss 80 mm Planar for the Rollei SL66 that got the job done. I also learned a lot from using that lens as it was my first optic of very high quality.

It was sharp and good out to the corners and wonderful close-up. Next it was Zeiss again, with the 38 mm Biogon lens mounted to the Hasselblad Superwide (SWC) camera. A rectilinear lens; if held level, straight lines stayed straight. 

Virtually all my series works from the 70's, 80's and 90's were made with the SWC. Next was 8 x 10. I  bought the 240mm Nikkor f5.6 first but I found it to be soft so switched to the 300 Nikkor f5.6. 


This was a superb lens with a huge circle of covering power. (For those non- photographer readers or those that haven't worked with a view camera, the "covering power" refers to how large a circle of light the lens throws back to the film or sensor. A larger circle allows for more movements of the lens off axis for tilts and swings and other movements.) For twenty years this lens was my main "go to" and it wasn't until fairly late in my use of the format that I added a 210 Super Symmar by, you guessed, it Carl Zeiss. 

After switching to digital in about 2005, I have stayed with Nikon throughout. In there, of course, have been some remarkably poor lenses, usually less expensive budget glass, but a few standouts too. For instance, each time the company has upgraded the 70-200mm f2.8  zoom I have too and the current issue lens is exceptional. All my aerial work is with this lens.

The lens that is legendary for me and, I believe, perhaps under-acknowledged, is the Nikkor 14-24mm f2.8. 

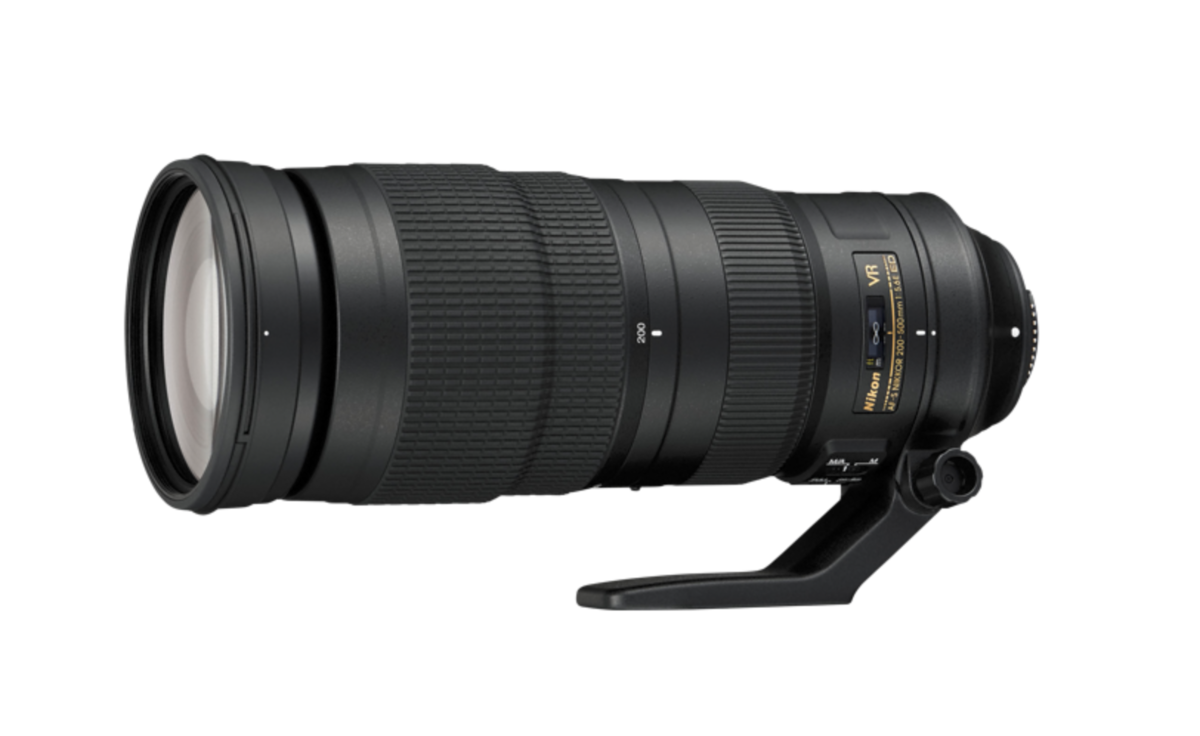
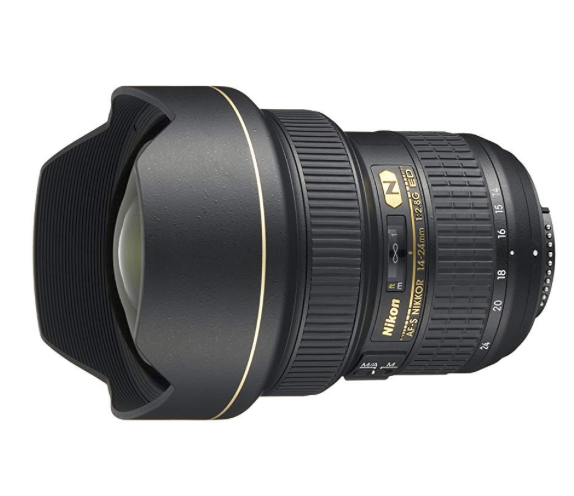
Big, heavy and expensive, with a huge curved glass element in front that makes using filters difficult, the lens is very specialized as it only zooms 10 mm. I believe the wider the lens the greater the expertise needed. This lens is not for the faint of heart as things can go wrong very quickly.

Holding the 14-24mm level or knowing how much out of level you are is key. Sharp, and good at all apertures, this lens is extraordinary. It is rare for a lens this wide to be very good at its edges. This one is.

Seldom neutral or transparent, most photographs made with it bear its "signature", meaning they aren't a window to the world but a definite take on it.

Think about this: do you care about photographs that are interpretive: unusual, different and have their own special look, or would you rather look at photographs that depict reality and rely on content for their impact and meaning? This is an art versus documentary question and one perhaps for another post.

Ah lenses... you can understand photographers' passionate feelings about the lenses they use to make their pictures. I also use the Sony A7r MK III and have the 24-105mm f4 and love the range. This is a very good piece of glass. Often this can mean a "one lens" day for me. 

My newest? The 200-500mm f5.6 Nikkor. 

Probably designed more for birders and wildlife photographers, I will see soon how it does with landscape. This is such a specific lens, useable only under special circumstances.  I am looking forward to pushing it out to 400 and 500 mm in the Palouse shooting Wheat in Washington in late June.

Stay tuned.

Topics: Commentary,technical

Permalink | Posted April 28, 2019

Made the Switch

Those of you that read this blog regularly know it isn't so often that I write about the gear I use. But I just made the switch from a 2013 13 inch MacBook Pro to a 2018 15 inch MacBook Pro and it was a good decision. I have also matched it with the 27 inch LG display (following Apple's recommendation)  which integrates seamlessly  with the computer.

This new system validates my contention that technology marches forward, whether we are aware of it or not. The computer does its job, without fuss or slowing down, the display is minimal and elegant with a screen that is flawless. It also is a lot lighter than my older Apple 27 Apple display I used for several years. The laptop is thinner and lighter too.

Yes, the new MacBook has limited ports but that is easily solved by plugging in an adapter that has six, including a card reader. 

Two things: I felt that when I travelled the 13 inch was limiting my ability to edit my work on the fly. It just wasn't a big enough screen to be making final edits on imagery I might subsequently be printing 40 inches across. 15 inches is still small but it is better. I also believe the screen is better now too. 

I don't fly with the big display, although I do have a case for it. I use it when I drive someplace to teach or on a "more than one day" shooting trip. This new one will be easier to carry with me as it is thinner, less bulky and lighter. Most likely I will keep it set up at home so I can work on files. 

As I still use the "trashcan" Apple Pro computer to drive the 44 inch Epson printer at the studio now and it is connected to a couple of Drobos and Lacie RAIDS for storage and backup it makes sense to have something at home where I can edit, work on the blog and do everything else we use a computer for these days as well. What a luxury to have something this good, that can travel with me whenever and wherever.

In contemporary practice in photography the computer is essential, whether working in analog or digital capture. That it be reliable and capable is really important. It helps if it is well designed and elegant as well.  After all, this is a machine I use literally every day. I know Apple's taken some heat for not being so much about computers these days but this one, at least for my purposes, is simply the best computer I have ever had. Adding the 27 LG display is just the frosting on the cake. 

BTW: the 2013 13 inch MacBook Pro and 27 inch Apple display are for sale. email me if interested: here.

Topics: technical

Permalink | Posted December 9, 2018

Not Usual

I don't usually write about photo equipment. But for the past couple of years I've been using something that is way cool and that you may not know about. Briefly, most of you know I worked with an 8 x 10 view camera for 25 years. I photographed using 2/14 (120mm) systems as well and occasionally shot with  4 x 5. I  switched to full time digital in about 2006 and work with a DSLR system full time now.

My dream when moving on from all that time working with 8 x 10 inch sheet film was to have a smaller camera capable of the same or close to the same levels of quality within my lifetime. Drum roll please: for all intents and purposes that dream is now a reality. I am able to make large prints of close to the same level of quality as prints made with an 8 x 10 inch view camera. Bang!  Digital capture has come a long way.

What a remarkable thing. But there are limitations to standard cameras like DSLR's  as well. Cameras such as these fix the relationship of the lens to the image plane in a parallel configuration. This can be very  limiting. No correcting for convergence, no Scheimpflug principle. Don't know what that is?

Here is Wikepdia's answer:

The Scheimpflug principle is a geometric rule that describes the orientation of the plane of focus of an optical system (such as a camera) when the lens plane is not parallel to the image plane. It is commonly applied to the use of camera movements on a view camera.  The principle is named after Austrian army Captain Theodor Scheimpflug, who used it in devising a systematic method and apparatus for correcting perspective distortion in aerial photographs.

You may need to be  sitting down here: by tilting the lens you can increase sharpness from foreground to background without stopping down the aperture to increase depth of field. Sharpness from close to far with the lens wide open? Yup. The pebbles in that gravel driveway sharp on out the horizon with my 50mm lens set at f2? Yup. I'm not lying. View cameras can do this and, if you've snuck a look at the picture of the lens below, you probably are thinking that it will allow this as well. Yup.

I ram referring to modern perspective control (PC) lenses, sometimes called tilt/shift lenses.


I use the Nikkor 24mm f3.5 PC lens. Wouldn't it be great to be able to make view camera adjustments with a small camera? Well, you can. The Nikkor lens shifts up and down, and, when rotated, swings side to side. The lens also allows you to look up or down but the  photograph you make looks as though you are parallel to the surface. That's good because then the edges of the building will stay parallel instead of converging. Want to shoot straight on through that window and not be reflected in the glass? PC lens. The PC lens also tilts, taking the lens out of being parallel with the camera's sensor. It can also swing if rotated. Wish you could shoot straight out from your toes to the horizon and hold it all sharp? PC lens. Imagine being able to hold things sharp from foreground to background without having to stop the lens down.

For this one taken at the Russian River in California I used an 8 x10 camera tilted for sharpness using the Schiempflug principle.

Hand holdable? Yes, but not easy. The lenses are manual focus and the adjustment knobs are small. I've done it but its easier and more precise from a tripod. What else do you need to know? Because it can tilt and shift quite far you can vignette the image and, as at times you are using the lens at the edge of its circle of covering power, the image can also get quite soft, or blurry. Normally, this is my sharpest lens, particularly used without tilts and shifts. Also, these are pricey lenses, in the range of $2000. Nikon makes them in three lengths, 24, 45 and 85 mm. Canon too. Canon also makes a 17mm. These lenses are used most often for architectural photography by pros. But that doesn't mean you can't do great things with them. Finally, what about using a PC lens for selective focus? Using one to make the picture blurry in places where you don't want your photograph sharp. To make only one small thing sharp. Easy with a PC lens. This is the primary principle behind the whole company called Lensbaby; selective focus. Last point, you could rent a PC lens to try it out.

Series of mine where I used this lens? Sconset, Nantucket and Baldwinville (under the pseudonym Marc S. Meyer). One more thing. Tired of always having the foreground in your pictures? Want more sky without pointing up? Did Marc (sic) use a PC lens to reduce the foreground in the Baldwinville pictures? Yup.

Topics: Commentary,technical,Scheimpflug

Permalink | Posted August 18, 2015